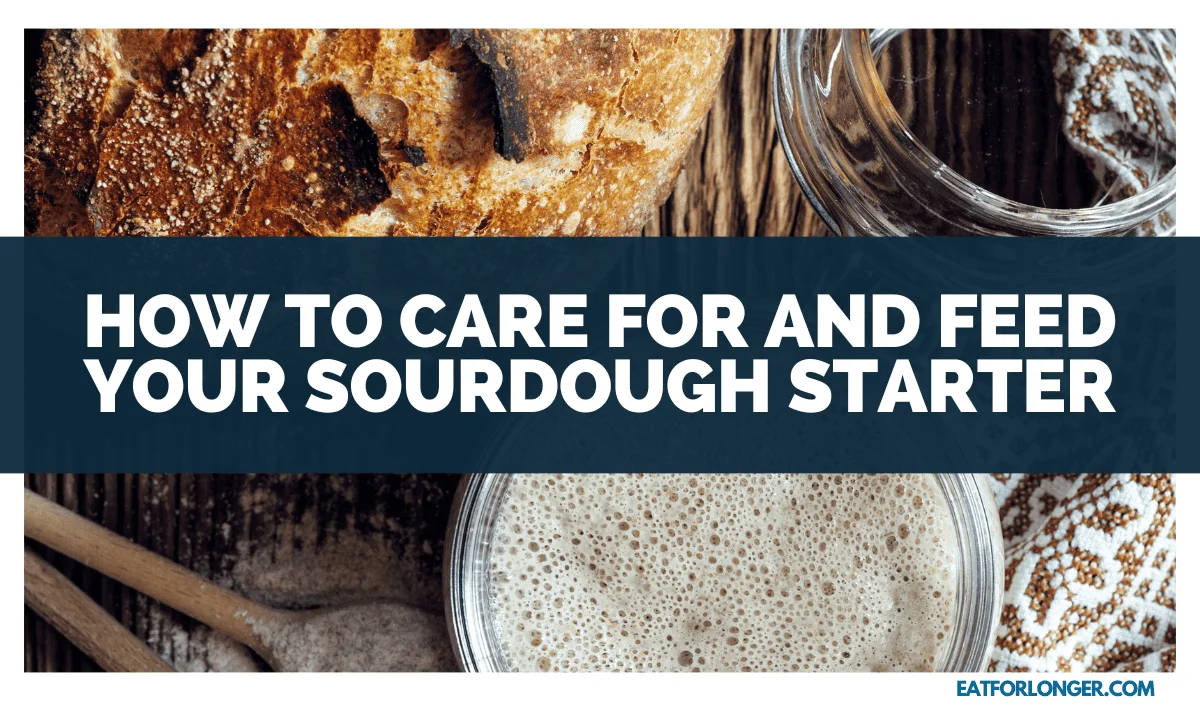
Hi there! If you’re anything like me, you’ve probably found yourself with a newfound love for baking during these past few months of quarantine.
And if you’re getting into it, maybe you’ve even decided to try sourdough bread baking.
But where do you start?
The key to successful sourdough bread is a healthy and well-fed starter.
In this article, I’ll guide you through the basics of caring for and feeding your sourdough starter so that it can help you make delicious bread every time.
First things first: what is a sourdough starter?
It’s a mixture of flour and water left out to ferment over several days or weeks, capturing wild yeast and bacteria from the air around us.
This mixture becomes the leavening agent of sourdough bread instead of commercial yeast.
Keeping your starter healthy requires regular feedings with fresh flour and water and attention to its environment and signs of activity.
Don’t worry if it all sounds overwhelming – I’m here to break down each step so that caring for your starter will become second nature in no time!
Understanding the Basics of Sourdough Starter
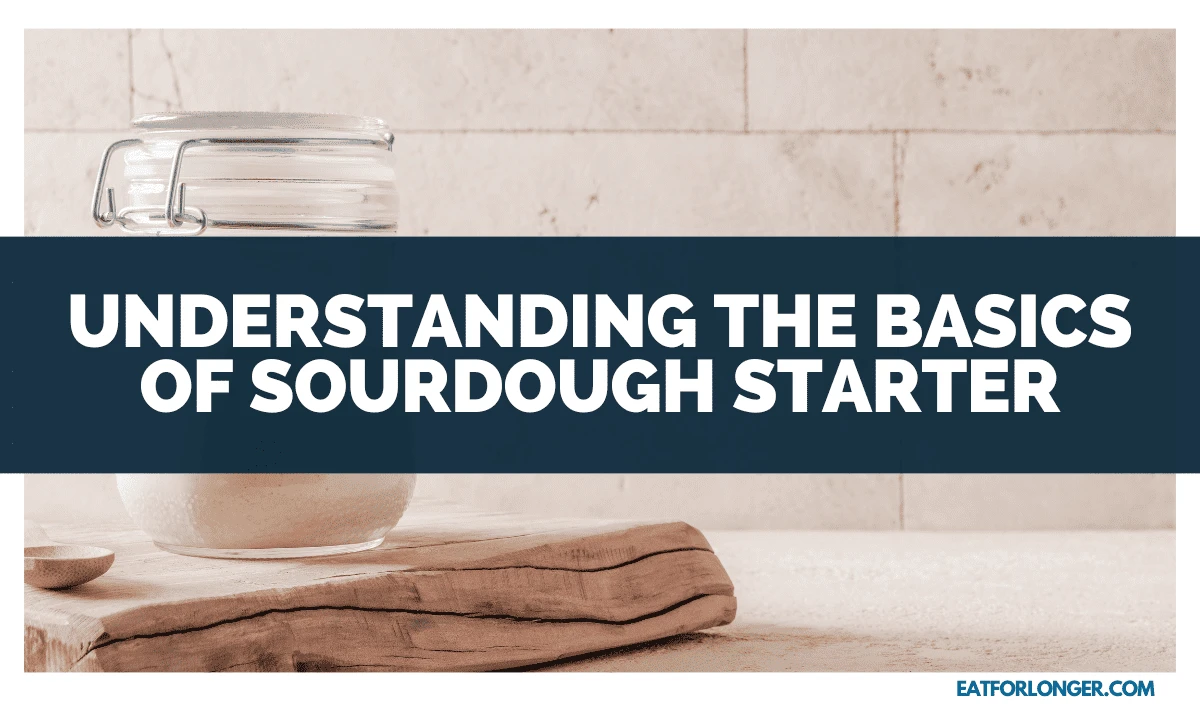
If you’re looking to master the art of baking bread, understanding the fundamentals of a living and breathing sourdough culture is essential.
One of the most important things to understand is the types of flour best for cultivating your starter.
While you can technically use any flour, whole grain flours such as rye or whole wheat are more nutrient-rich and help promote a healthy fermentation process.
It’s also important to note that using non-chlorinated water can help prevent unwanted bacteria from interfering with your starter.
Understanding fermentation is another crucial aspect of caring for your sourdough starter.
Essentially, fermentation occurs when naturally occurring yeast in your starter feed on carbohydrates found in flour and produce carbon dioxide gas as a byproduct.
This process gives your bread its signature tangy flavor and helps create the perfect rise during baking.
To ensure a successful ferment, maintain consistent feeding schedules and temperatures and watch for any signs of mold or unwanted growth in your starter.
Establishing a Feeding Schedule
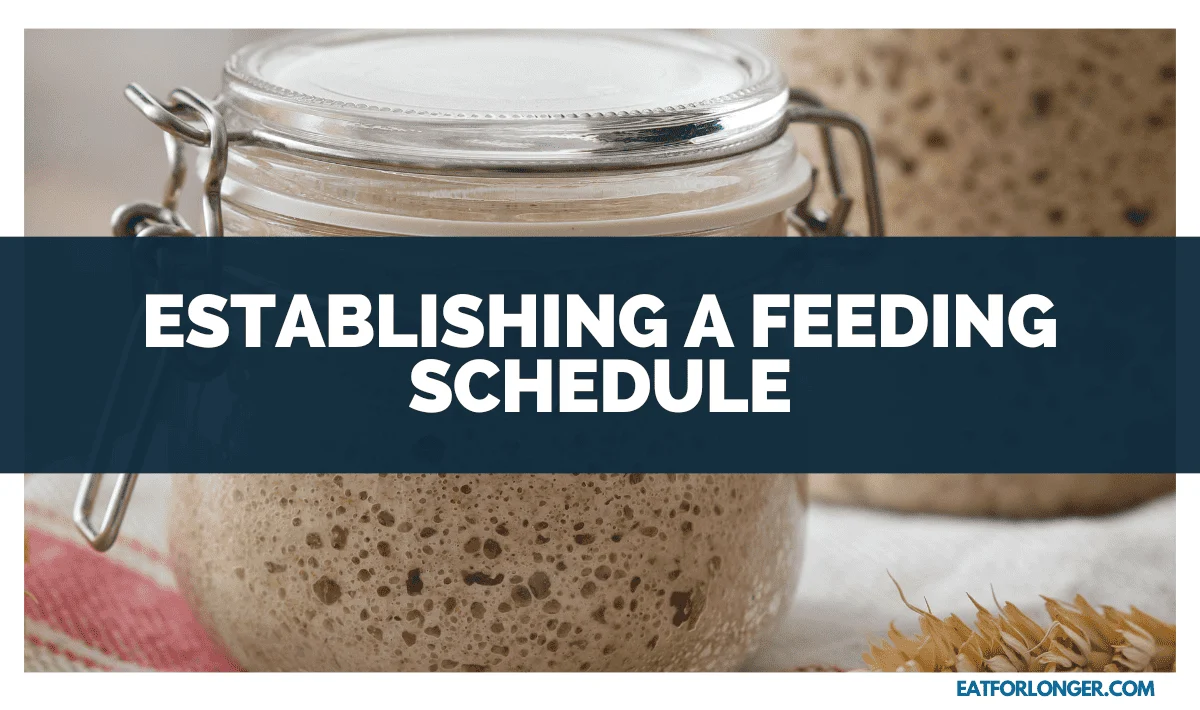
So, now that I’ve got a handle on the basics of sourdough starter care, it’s time to establish a feeding schedule.
The feeding frequency is important – you don’t want to starve your starter or overfeed it.
A proper feeding ratio is also crucial for maintaining a healthy and active culture.
And let’s not forget about using filtered water to avoid unwanted contaminants.
Don’t worry; I’ll explain each point to set up an effective feeding routine together!
Frequency of Feeding
Keeping your sourdough starter healthy means providing it with regular nourishment.
One of the most important things to consider when caring for your starter is its feeding frequency.
Should you feed it daily or weekly?
The answer depends on how often you plan to bake and how active your starter is.
A daily feeding schedule may be necessary if you plan to bake frequently.
This will ensure your starter remains active and healthy, as it needs a consistent fresh flour and water supply to thrive.
However, a weekly feeding schedule may be sufficient if you only bake occasionally or have a less active starter.
It’s important to note that consistency is key in feeding frequency – choose a schedule that works for you and stick with it.
The impact of feeding frequency on starter health can also vary depending on other factors such as temperature, hydration level, and the type of flour used.
A well-fed and active starter should have a pleasant aroma, rise consistently after each feeding, and show signs of fermentation within 6-8 hours after being fed.
If you notice any changes in these characteristics, adjust your feeding frequency until your starter returns to optimal health.
Remember that patience is key when caring for a sourdough starter – take the time to observe its behavior and make adjustments as needed to keep it happy and healthy!
Proper Feeding Ratio
Finding the best feeding ratio for its unique needs is crucial to maintaining a healthy and active sourdough starter.
The feeding frequency will depend on factors such as room temperature, the hydration level of the starter, and how often you use your starter.
Generally, a feeding ratio of 1:1:1 (equal parts flour, water, and starter) is recommended when maintaining an established starter.
However, if your starter has been neglected or seems sluggish, you may need to increase the ratio to 1:2:2 (twice as much flour and water as a starter) or even 1:3:3 (three times as much flour and water as a starter) until it becomes more active.
It’s important to consider the hydration level of your sourdough starter when determining the proper feeding ratio.
A higher hydration level means more water content in flour in your starter.
If you have a high hydration level of 100% or more, you may want to adjust your feeding ratio accordingly by using less water or increasing the amount of flour added during feedings.
It’s also worth noting that different flours can affect your starter’s hydration level – for example, whole wheat flour absorbs more water than all-purpose flour.
You’ll find the perfect feeding regimen for your unique sourdough culture by experimenting with different ratios and noting how your sourdough responds.
Using Filtered Water
To ensure your sourdough stays healthy and happy, try using filtered water when you refresh it.
Using filtered water can provide numerous benefits to your sourdough starter, such as removing chlorine and other chemicals that can potentially harm the yeast.
These chemicals may also affect the flour’s protein structure, essential for sourdough fermentation.
When choosing the right filter for your water, it’s important to consider its effectiveness in removing impurities.
A high-quality filter will remove chlorine and other contaminants, such as bacteria or heavy metals.
Some filters use activated carbon and reverse osmosis technology to ensure clean water.
Additionally, don’t forget to replace your filter regularly according to the manufacturer’s instructions to maintain its effectiveness.
By using filtered water, you’re not only ensuring a healthier environment for your sourdough starter but also improving the overall taste of your bread!
Storing Your Starter
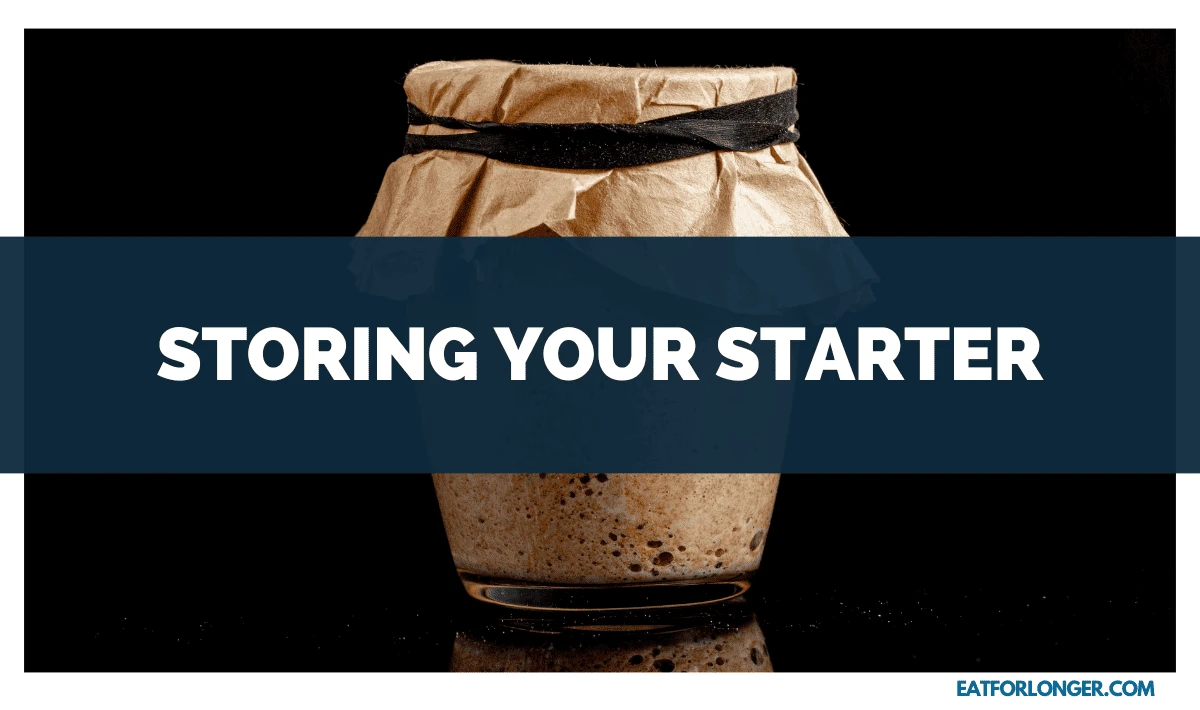
When it comes to storing my sourdough starter, I always make sure that it’s in an airtight container.
This is important to maintain its freshness and prevent any external elements from contaminating the starter.
I prefer using glass jars or plastic containers with tight-fitting lids.
These containers provide a secure environment for my starter to thrive without air or moisture exposure.
Another important factor in storing your sourdough starter is finding the right spot.
The ideal temperature range for sourdough starters is between 70-85°F (21-29°C).
Therefore, I keep mine warm in my kitchen, away from direct sunlight and drafts.
You can also store your starter in the refrigerator if you don’t plan on using it frequently.
Just make sure to feed it regularly every week or two by taking it out of the fridge and leaving it at room temperature for a few hours before feeding it again.
These simple storing techniques will help ensure that your sourdough starter stays fresh and healthy for all your baking needs!
Troubleshooting Common Issues

As a sourdough enthusiast, I’ve encountered my fair share of common issues while caring for my starter.
One of the most frustrating is dealing with hooch – that layer of liquid that often forms on top of an unfed starter.
Another issue is addressing foul odors, indicating that something has gone wrong in the fermentation process.
Over-fermentation can result in a too-sour or acidic starter, making it difficult to use in baking bread.
But fear not!
These issues can be easily addressed with patience and knowledge, and your sourdough journey will continue on its delicious path.
Dealing with Hooch
Don’t let that liquid on top of your sourdough discourage you – it’s called hooch, and it’s a sign that your starter is healthy!
Hooch is the clear or brownish liquid layer that forms on top of your starter when it hasn’t been fed.
While some bakers see this as a problem, hooch is a natural byproduct of fermentation and indicates that your starter is actively working.
If you want to prevent hooch from forming, try feeding your starter more frequently or reducing the amount of water in your recipe.
However, if you do end up with excess hooch, don’t worry!
Here are four things you can do with it:
- Use it to feed other sourdough starters.
- Add a small amount to the bread dough for added flavor.
- Mix with fruit juice for a tangy drink.
- Use as a marinade for meats or vegetables.
Remember, hooch isn’t something to be afraid of – embrace it as part of the sourdough process.
Addressing Foul Odors
If you’re experiencing a stinky situation with your sourdough, don’t worry – there are ways to combat those foul odors.
The first step is to identify what’s causing the smell.
If it smells like acetone or nail polish remover, it may mean that your starter needs to be fed more frequently.
On the other hand, if it smells like rotten eggs or sulfur, your starter may have gone bad.
To remove foul odors from your sourdough starter, discard about 75% and feed the remaining 25% with fresh flour and water.
Be sure to use room-temperature filtered water and unbleached all-purpose flour.
Mix everything until smooth and let it sit at room temperature for a few hours before transferring it to a clean jar.
Repeat this process every day until the smell disappears.
Preventing spoilage in your sourdough starter requires regular feedings and proper storage techniques.
Remember that sourdough starters should be kept at room temperature and away from direct sunlight.
They must also be fed regularly – at least once every 24 hours for an active culture or once a week for a dormant one.
Following these simple steps, you can ensure your sourdough stays healthy and free from unpleasant odors!
Handling Over-Fermentation
You may have noticed your sourdough has become too sour or tangy – it’s time to learn how to handle over-fermentation.
To prevent over-fermentation, you must be mindful of your starter’s temperature and feeding schedule.
Keeping your starter in a cool environment slows the fermentation process, while warmer temperatures speed it up.
Additionally, ensure you’re feeding your starter according to its needs and not just on a schedule.
If you notice your starter is rising and falling too quickly after feedings, it may be time to adjust how much and how often you’re feeding it.
One of the signs of over-fermentation is a strong, almost alcohol-like smell from your starter.
This can also lead to a sour taste in baked goods made with an over-fermented starter.
If this happens, don’t panic!
You can still use the starter for baking, but it may require some adjustments.
Try using less sourdough in your recipe or adding sugar to balance the acidity.
Alternatively, you can start fresh with a new batch of starters if yours is consistently becoming over-fermented despite adjusting its living conditions and feeding schedule.
Remember, caring for a sourdough starter takes patience and practice – but once you master it, there’s nothing quite as satisfying as pulling freshly-baked bread out of the oven!
Using Your Starter to Make Delicious Recipes
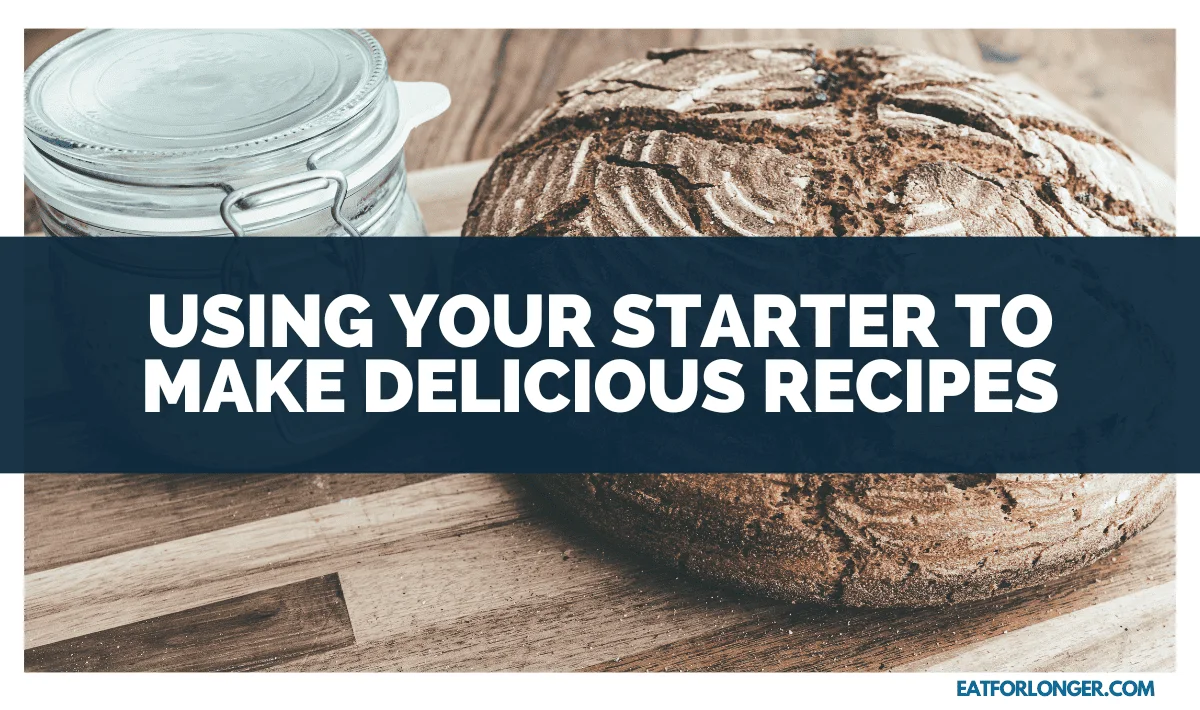
Now that you’ve successfully cared for and fed your sourdough starter, it’s time to put it to use and make some delicious recipes!
Making homemade bread is a classic option, but don’t forget about using your starter to create fluffy pancakes and waffles.
And for those with a sweet tooth, baking indulgent treats such as cinnamon rolls or chocolate cake is also possible with the help of your trusty sourdough starter.
Let’s dive in and explore these tasty possibilities together!
Making Homemade Bread
Let’s dive into the delicious world of making your homemade bread!
There’s nothing quite like the smell of freshly baked bread wafting through your home, and with a little bit of patience and practice, you can easily make your own at home.
Here are some tips on how to make the perfect loaf:
- Use high-quality ingredients: The key to a great loaf of bread is using high-quality ingredients. This means using good-quality flour, salt, water, and sourdough starter.
- Develop gluten: Kneading techniques are crucial when developing the gluten in your dough. Gluten gives bread its structure and texture. So be patient while kneading – it takes time for the gluten to develop properly.
- Shape carefully: Shaping methods can vary depending on what type of bread you’re making. It’s important to shape your dough to rise evenly during proofing carefully.
Once you’ve mastered these basics, there are endless possibilities for making different types of bread with your sourdough starter – from crusty baguettes to fluffy rolls.
Making homemade bread may initially seem intimidating, but with practice and patience, anyone can do it!
So why not give it a try?
Not only will you impress yourself with what you can create in your kitchen, but there’s something truly special about sharing a warm loaf of fresh-baked sourdough bread with loved ones.
Plus, who doesn’t want their home filled with that heavenly aroma?
Creating Pancakes and Waffles
Get ready to indulge in the mouth-watering goodness of fluffy pancakes and crispy waffles made right at home with these simple tips and tricks.
Did you know you can use your sourdough starter to make these breakfast favorites?
Sourdough pancakes and waffles have a unique flavor that differentiates them from regular recipes.
Plus, they have a fluffy texture that’s hard to resist.
To get started, check out this table for basic ingredients and measurements:
| Ingredients | Pancakes | Waffles |
|---|---|---|
| All-purpose flour | 1 cup | 2 cups |
| Baking powder | 1 tsp. | 2 tsp. |
| Salt | 1/4 tsp. | 1/2 tsp. |
| Sugar (optional) | 1 tbsp. | 2 tbsp. |
| Milk or buttermilk* (room temperature) | 3/4 cup-1 cup** | 1-1/4 cups |
| Egg (room temperature)*** | One large egg** or an equivalent amount of egg substitute*** |
Mix all the dry ingredients before adding the wet ingredients, including your sourdough starter, which should be active and bubbly by now!
Let your batter rest for about an hour before cooking on a greased griddle or waffle maker.
To add creativity to your sourdough breakfast creations, add fresh fruit, honey, cinnamon sugar, whipped cream, or even savory toppings like bacon or cheese!
Baking Sweet Treats
Indulge in the delectable world of baking sweet treats with these simple tips and tricks.
As a seasoned baker, I’ve learned that experimenting with creative flavor combinations is the key to creating delicious baked goods.
For example, adding crushed candy canes to a batch of chocolate chip cookies or mixing fresh berries with your scone dough can take your treats to new heights.
But it’s not just about the flavors; decorating techniques can elevate your baked goods.
Consider piping on a cream cheese frosting onto a carrot cake or drizzling melted chocolate over homemade donuts.
Don’t be afraid to get creative with sprinkles, edible glitter, or fresh fruit slices as toppings.
With a little imagination and practice, you’ll soon become a pro at flavor experimentation and decoration design in no time!
Conclusion and Final Tips
I’m excited to share some final tips and thoughts on sourdough baking.
One of the joys of working with sourdough is experimenting with different flours, such as whole wheat or rye, to create unique flavors and textures in your bread.
I also love sharing my starter with friends and family, spreading the joy of sourdough baking.
Lastly, remember that sourdough baking is an art form that takes patience and practice to perfect, but the results are always worth it.
So don’t be afraid to embrace the process and have fun!
Experimenting with Different Flours
Mix different flour types into your bubbling, living dough, and watch as it transforms into a unique and beautiful creation.
Alternative flours like rye, spelled, or barley can add depth and complexity to your sourdough bread.
Each type of flour has its distinct flavor profile that can enhance the overall taste of your bread.
Experimenting with gluten-free options such as rice flour or oat flour is also a great way to cater to those with dietary restrictions while creating delicious sourdough bread.
Adjusting the hydration levels accordingly is important when adding alternative flours or gluten-free options to your starter.
Some flours may require more water than others, so don’t be afraid to experiment until you find the perfect balance for your specific recipe.
Additionally, remember that certain flours may affect the rise of your dough differently than others, so be patient when waiting for proofing times.
You can create unique and tasty sourdough loaves using various flours with patience and experimentation.
Sharing Your Starter with Friends
Sharing your bubbling, living dough with friends can be a fun and rewarding experience.
It’s a way to spread the joy of baking and show others how easy it is to make sourdough creations.
If you decide to share your starter, there are a few sharing techniques you may want to consider.
One option is to give some of your starters away as a gift.
You could put it in a cute jar or container and include instructions for feeding and caring for the starter.
This is especially nice if you have friends who love baking but have never tried making sourdough.
Another option is to invite friends over for a sourdough-making party.
You can teach them how to create their starters, share tips and tricks, and bake together.
Whatever method you choose, sharing your starter with others is a great way to connect with people over a shared love of baking.
Embracing the Art of Sourdough Baking
Embracing the art of sourdough baking allows for a deeper connection to the bread-making process and an appreciation for natural fermentation.
Every step involves careful attention and patience, from mixing flour and water to shaping loaves.
Here are four reasons why I believe sourdough baking is an art form:
- Artistic presentation: Sourdough loaves have a unique look that can vary from one baker to another. The scoring patterns on top of the loaf create beautiful designs that showcase a baker’s personal touch.
- Unique flavor profiles: Sourdough bread has a distinct tangy flavor from naturally occurring lactic acid bacteria in the starter. Different types of flours, hydration levels, and fermentation times can also affect the taste of the final product.
- Creative experimentation: As you become more comfortable with sourdough baking, you can start experimenting with different techniques and ingredients to create unique recipes.
- Mindful practice: Baking sourdough requires time, attention, and care – all qualities that promote mindfulness and presence at the moment.
In summary, we are embracing the art of sourdough baking results in delicious bread and fosters creativity, mindfulness, and a deeper connection to our food.
Frequently Asked Questions
Can I use tap water to feed my sourdough starter?
Filtered water alternatives are a great option for feeding your sourdough starter, but tap water can also work if you don’t have access to filtered water.
However, it’s important to consider the quality of your tap water as it can impact the growth of your starter.
Chlorinated or heavily treated water can harm your starter’s natural yeast and bacteria, so it’s best to let tap water sit out overnight before using it.
Alternatively, you can use bottled spring or distilled water for consistent results.
Remember that taking care of your sourdough starter is all about patience and attention to detail, so take the time to choose the right type of water for optimal growth and flavor.
How do I know if my sourdough starter is dead?
Reviving a sourdough starter can be a frustrating experience, but with some troubleshooting, it’s possible to bring it back to life.
The first step is to look for signs of life in the starter.
This can include bubbles on the surface or a slightly sour smell.
If there are no signs of activity, try feeding the starter with equal parts flour and water and leaving it in a warm spot for several hours.
If this doesn’t work, you may need to discard part of the starter and begin feeding it every 12 hours instead of once a day.
It’s important to remember that reviving a sourdough starter takes patience and persistence, but with time and effort, your starter will be thriving again in no time!
Can I use gluten-free flour to feed my sourdough starter?
I’ve experimented with using gluten-free alternatives to feed my sourdough starter, and while it’s possible, there are some nutritional differences to keep in mind.
Gluten-free flours tend to have less protein than traditional wheat flour, which means they may not provide as much food for the yeast and bacteria in your starter.
To compensate for this, you may need to use a larger amount of flour when feeding your starter or add additional sources of nutrition, like honey or molasses.
It’s also important to note that using gluten-free flour in your starter may affect your final bread’s flavor and texture.
While it’s possible to make delicious bread with a gluten-free starter, it may take some experimentation and tweaking to get the results you’re looking for.
How often should I discard a portion of my sourdough starter?
When it comes to maintaining a healthy sourdough starter, the frequency of feeding and discarding techniques is crucial.
Generally, I suggest feeding your starter once every 24 hours.
However, this can vary depending on factors such as temperature and humidity.
If your starter is not rising consistently or has a strong acidic smell, you may need to increase the frequency of feedings.
On the other hand, if your starter is very active and rising quickly after each feeding, you may be able to extend the time between feedings.
Regarding the discarding technique, I recommend removing about half of your starter before each feeding and keeping what is necessary for future use.
This will prevent your starter from becoming too large and unmanageable while ensuring it remains healthy and active for years.
Can I freeze my sourdough starter for long-term storage?
Freezing your sourdough starter is a great option for long-term storage.
I’ve found that it’s like putting your starter in hibernation – when you thaw it out, it comes back to life just as strong as before.
To freeze your starter, transfer it to an airtight container and pop it in the freezer.
When you’re ready to use it again, let it thaw slowly in the fridge for about 24 hours before bringing it to room temperature and feeding as usual.
It’s important to note that some starters may take longer than others to revive after being frozen.
Be patient and keep feeding regularly until you see signs of activity again.
Overall, the freezing method is convenient to ensure you always have a backup of your beloved sourdough starter.
My Conclusion
In the sourdough baking journey, the key to success lies in the care and feeding of your sourdough starter.
It’s a living entity that requires regular nourishment, a suitable environment, and a keen eye for signs of activity.
The type of flour you use, the quality of water, and the feeding schedule all play a crucial role in maintaining a healthy and active culture.
As I’ve discovered, whole grain flours like rye or whole wheat, rich in nutrients, promote a robust fermentation process.
Using non-chlorinated water helps to prevent unwanted bacteria from interfering with your starter.
Regular feeding, consistent temperatures, and vigilance for any signs of mold or unwanted growth are essential for a successful ferment.
Remember, the feeding frequency depends on your baking schedule and the activity of your starter.
A well-fed and active starter should have a pleasant aroma, rise consistently after each feeding, and show signs of fermentation within 6-8 hours after being fed.
Don’t be disheartened by common issues like hooch formation or foul odors.
They can be easily addressed with patience and knowledge. Embrace these as part of the sourdough process.
Once you’ve mastered caring for your starter, the world of delicious recipes opens up.
From homemade bread to fluffy pancakes, waffles, and even sweet treats like cinnamon rolls or chocolate cake, your sourdough starter is the key to a world of culinary delights.
In conclusion, sourdough baking is an art that requires patience and practice.
But the satisfaction of pulling a freshly baked loaf out of the oven is worth every bit of effort.
So, embrace the process, experiment with different flours, share your starter with friends, and most importantly, have fun!
For more insights like these, sign up for my newsletter here.
References:


I’m Chris Watson & the Founder of EatForLonger.com. I’m a food and wellbeing enthusiast researching and sharing foodstuffs and simple food-based concepts, such as fasting and clean eating.
I hope it inspires you to make tiny changes to what you eat and when you eat while optimizing your healthspan and all-around well-being.
Read more About Me here.